Showing posts with label sephora. Show all posts

Tuesday, February 5, 2013

Just A Quickie, Challenge Day 5

Hi friends! I am sorry to say but today's post will be a short one as I am not feeling to well :o/ I did however want to at least post today's FFF challenge: 3D/ Decal.

I chose a simple design and used these awesome 3D rhinestone nail accents that my mom got me for my birthday.


I apologize for the sloppy black tips, like I said I am not feeling well and just wasn't up to spending the time but I really didn't want to miss another challenge day (yesterday was the first). That being said I hope you all can forgive me.


Here is what I used and a close up of the little bows.


From left to right:  2 coats of a nameless Sephora mini from their Tinsel Town collection, followed by 1 coat of No 7's "Charm",  black striping polish for the tips that I received in last months Nail Art Society bag, and a generous topcoat from Kiss Acrylic Top Coat. I used that instead of Seche Vite because it was thicker and I wanted to make the bows stick without using nail glue (seeing as how they will only be on for 24 hours)

Please please please check out the links for the other ladies pages, they are all so talented :0)


Until next time! Keep it polished!!!!!
<3 Jess

Friday, February 1, 2013

Flip/Flop February Day 1: Gradient

Hello lovelies! Happy Friday!!! I am certainly looking forward to my weekend, how about you all?

Today I am excited to start a new challenge! I know I know I totally failed the last 31 day challenge BUT this one is a no pressure relaxed challenge that allows you to do as many or as little as you would like. Perfect for a working student like myself. This challenge is also great because it allows you to  choose one of two techniques  each day. Day one was gradient or skittle mani. I decided to put on my big girl pants and try yet again to successfully pull of a gradient nail. I have no idea why this is so difficult for me but hey practice makes perfect right!?!

So here is what I used from left to right: my trusty dusty little glass shot glass thingy ( obviously that is the technical term ;0) ) I use this to pour my acetone and dip my angled liner brush in it to clean up my edges. Next up is a Sinful Color, which I will update and name later because I am at work and currently forgot the name ( for shame!). I used that with another nameless Sephora mini in a darker shade of purple.  My top coat was the ever fast drying Seche Vite. Also pictured is my makeup sponge used to apply the polish and my baggie used to set and dip the polish.

Ta da! :0/....OK so I know its not perfect, this is a technique that I really have yet to master, but hey that's the whole point of this challenge. Go big or go home is what I always say.

There are a few techniques floating around out there to achieve this look. I was short on time so I chose to paint strips of color on my baggie, lighter shade on top darker on bottom. Then I took my makeup sponge and dabbed on the color and transferred it on to my nails. This took several layers of sponging but went relatively quickly. After I had my desired color I let it dry and cleaned up the edges ( this manicure is VERY messy) once all of that was done I applied a coat  of Seche Vite and called it a night.

Be sure to check out the other lovely ladies participating in this challenge!

Keep it polished!
<3 Jess

PS please excuse my ugly ring finger, being a pharm tech often means nasty paper cuts :0(

Monday, January 21, 2013

Quilted Nails

Hello again! As promised I am back with my second post of the day.
I gotta say I am proud of myself for being so productive!

As I mentioned in my last post, I was watching football with some friends while doing my nails, ( now that is my idea of Sunday fun day!) Anyways I have been wanting to do a quilted nail for a while and decided today was the day.


I started with 2 coats of Ulta's Blue Streak for my base. I have had this color for a while but have not tried it until today. I really enjoy Ulta polishes, they have a great brush size, amazing color, and go on really smoothly.
After letting that fully dry, I carefully applied strips of striping tape to produce my quilted pattern and once I was satisfied with the spacing I applied a generous coat of yet another unknown Sephora mini shown here

Sorry yet again for not knowing the name. Now that I am aware the minis do not have their names I will be sure to write down the next set I get.

Now for those of you who haven't used the striping tape in this way its important to know when you do this, the key is to remove the tape ASAP after applying the second color. When I first used striping tape I was not aware of this and it didn't end well.

I didn't like just having the one accent nail so I decided to spruce it up with some pinkish-purple rhinestones and topped it off with a generous coat of Seche Vite.


While I like these nails, I was hoping to achieve a bit more of a quilted texture. Will have to read up and see how other bloggers are doing it.

Well I'm off to bed, have a great night!
Keep it polished!
<3 Jess

Tuesday, January 15, 2013

saran wrap mani with rhinestone cascade

Hey there everyone! How was your Monday? Mine was filled with work and cleaning but I finally took some time to re do my mani. This is technically from the 31 day challenge, though I am not fully committed to doing that anymore. Not because I don't think its an amazing idea, but because when you work full time it is difficult to do a new mani every night ( not to mention the fact that sometimes I just really like what I have on and want to enjoy it for a few days).

So I have decided to use the challenge days as inspiration without a specific time frame :0) which is exactly what I did tonight.


My version of the saran wrap mani. What do you all think?


I have to say I am super happy with how this turned out, it was my first attempt at this type of manicure but it was super easy! The hardest part was trying to cascade the rhinestones ( an idea I copied after seeing it on one of my patients nails)

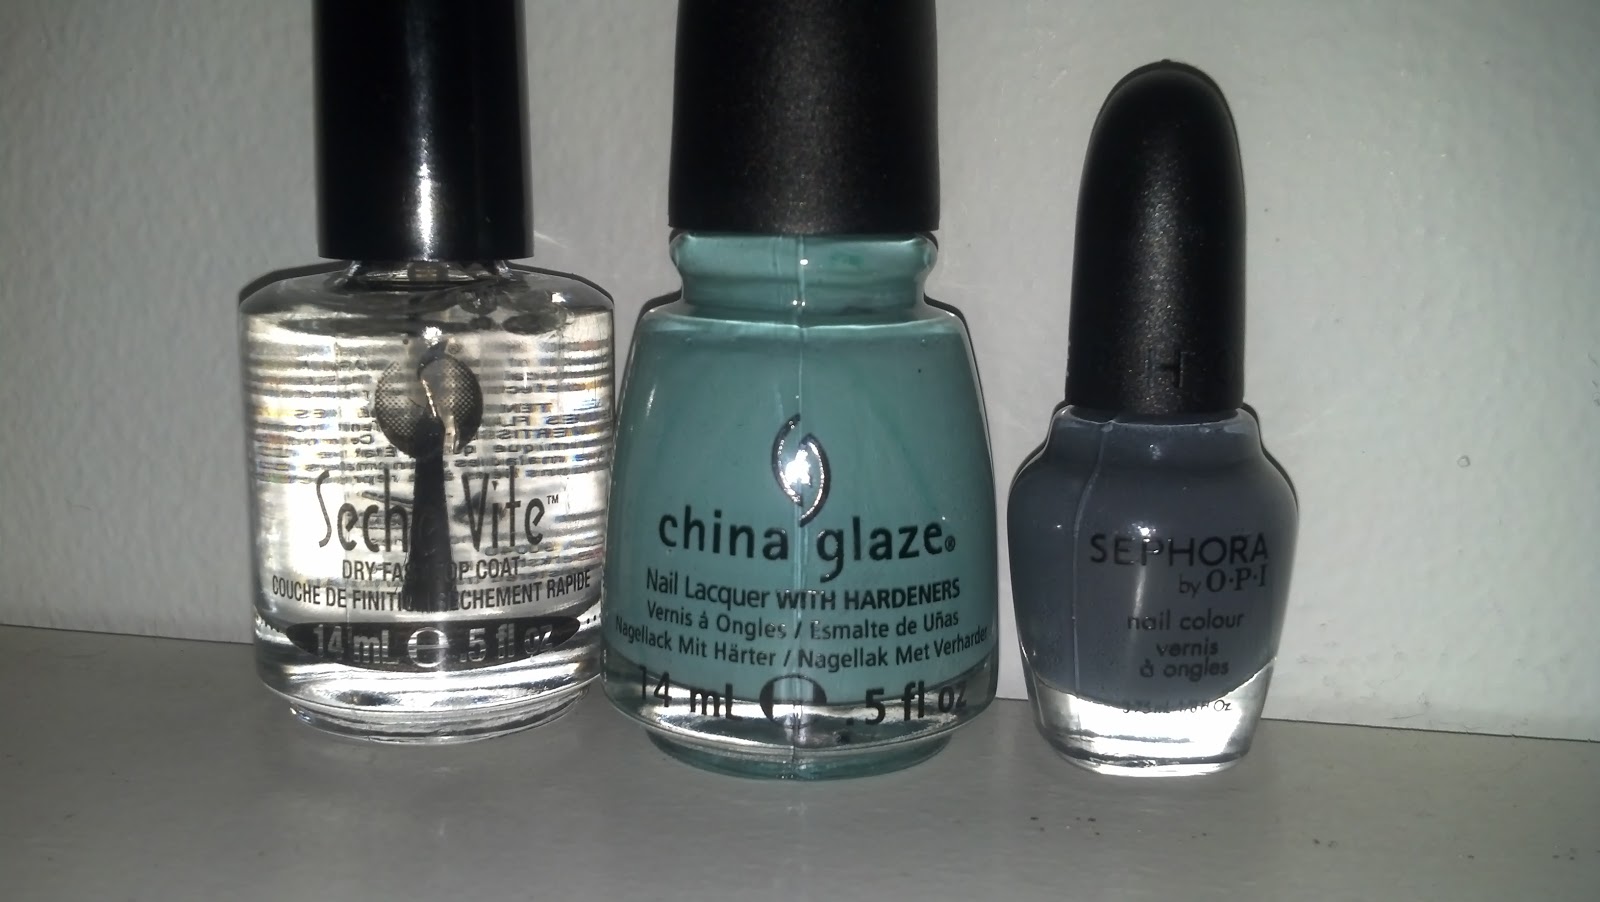
I used 2 coats of a Sephora color from their tinsel town collection for my base ( sorry I don't know the name, I threw the box out without realizing the mini bottles do not have the color names on them). After waiting for it to dry I painted each nail with a coat of one of my all time favorite colors 'For Audrey' by China Glaze and used pieces of crumpled saran wrap to dab and pick up some of the color. Once that was all dry I gave it a generous top coat of Seche Vite to protect the designs and ensure that my rhinestones will not fall off.

All in all it was a successful first try and I think I will definitely use this technique again. But for now it is freezing and I am off to get all comfy cozy in bed. Happy Monday everyone!

Keep it polished!
<3 Jess